While warding is a concept popular in MOBA games, it can be difficult to understand for those who are not familiar with games like League of Legends and DOTA 2. Warding is a crucial practice for those who want to improve in League of Legends and help their team avoid an ambush. Here is our guide on how to get better at warding in League of Legends.
How to get better at warding in League of Legends
Why is warding important?
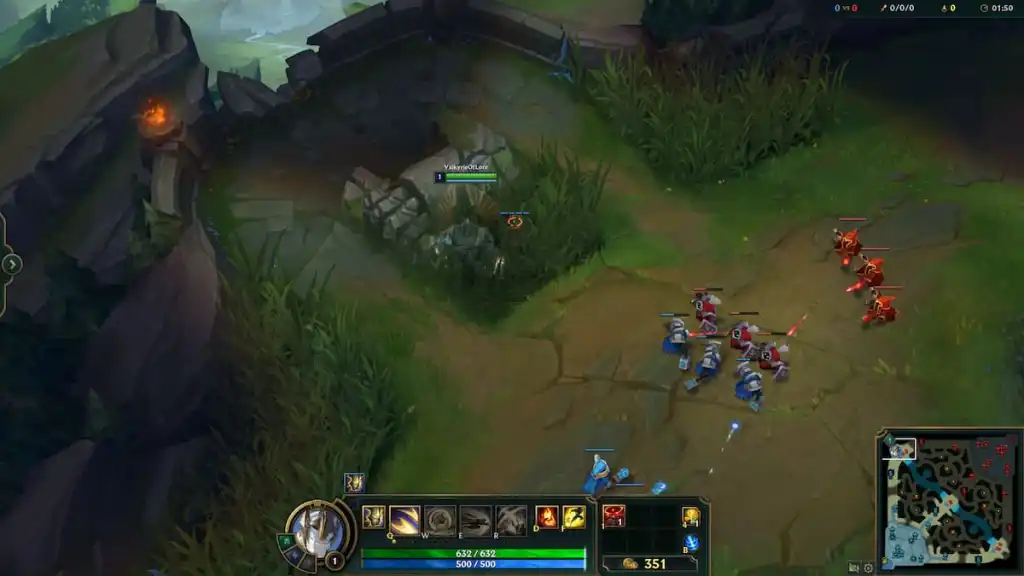
By default, almost all of the Summoner’s Rift map is covered by a “fog of war,” meaning that you and your teammates cannot see most of the map unless it is warded or if allied units are there.Wards remove the fog of war in a small area, granting vision to your team. The image above is a map without wards, where the only vision is granted by allied minions and towers.
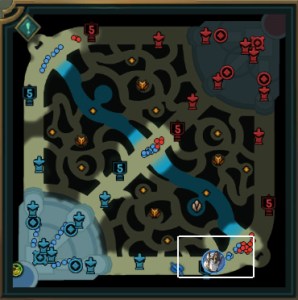
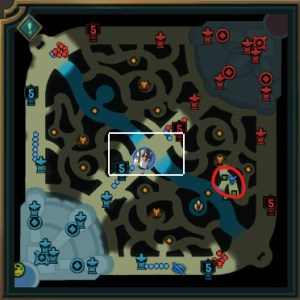
This image depicts a map with a single ward. Notice how the ward makes a small area of the map lighter. This demonstrates that your team has vision over the area.If an enemy walks through that area, their character portrait will appear on the minimap. If there are no wards throughout the map, your team is left vulnerable to enemy ambush.

What are the different types of wards?
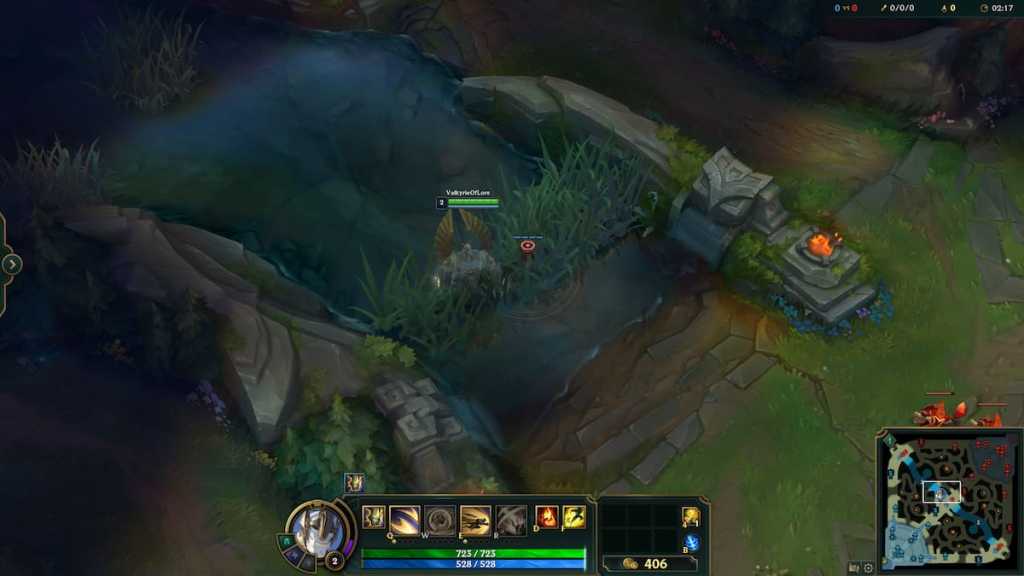
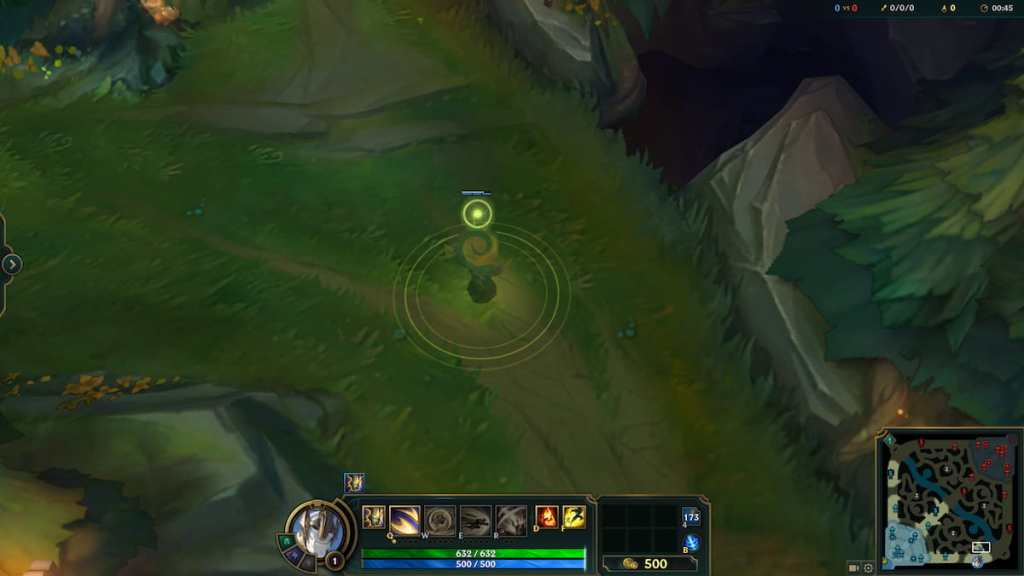
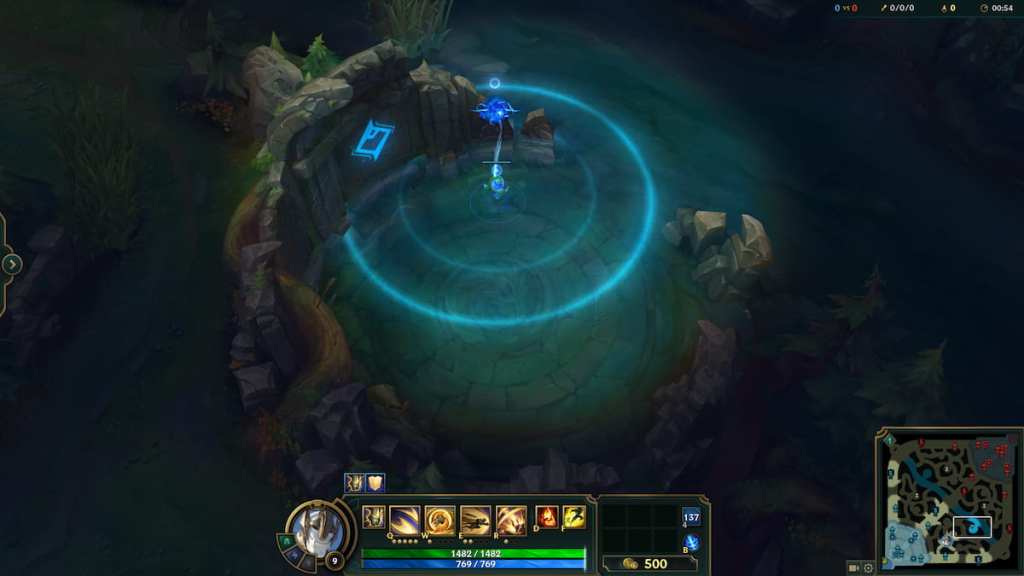
The ward pictured above is called aStealth Ward. It has a yellow icon, and automatically goes to the4slot when purchased. The Stealth Ward is free to purchase, and lasts between 90-120 seconds depending on your champion level. It is the primary ward used by players, as its one purpose isgranting vision on the map.
The Stealth Ward is invisible to enemies, unlike other wards on this list. The4slot, which is typically reserved for wards, can hold up to two Stealth Wards at a time. These wards must only be bought once, as they will regenerate every 240-120 seconds, depending on champion level. Once a ward expires, it will disappear from the map.
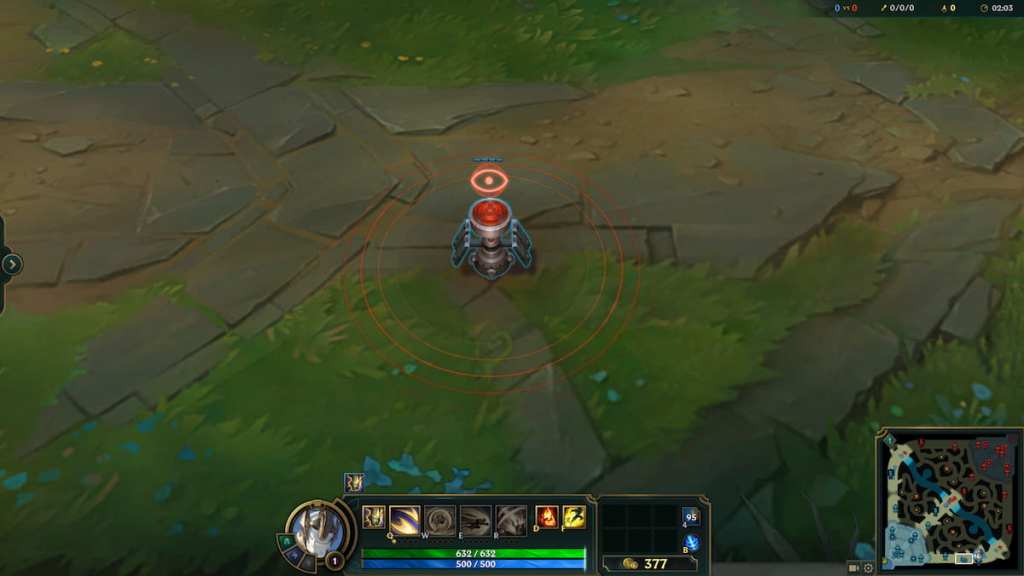
TheControl Wardcosts 75 gold, and its purpose isrevealing and disabling enemy wards. Control Wards are not invisible, so they must be hidden in bushes to avoid being destroyed by enemy players. Along with enemy wards, the Control Ward reveals invisible traps and camouflaged enemies. Players can carry up to two Control Wards, although they do not regenerate, and must be bought each time.
If a Control Ward is not destroyed, it can last the entire duration of a game. It must be noted that although Control Wards reveal enemy Control Wards, they do not disable them.
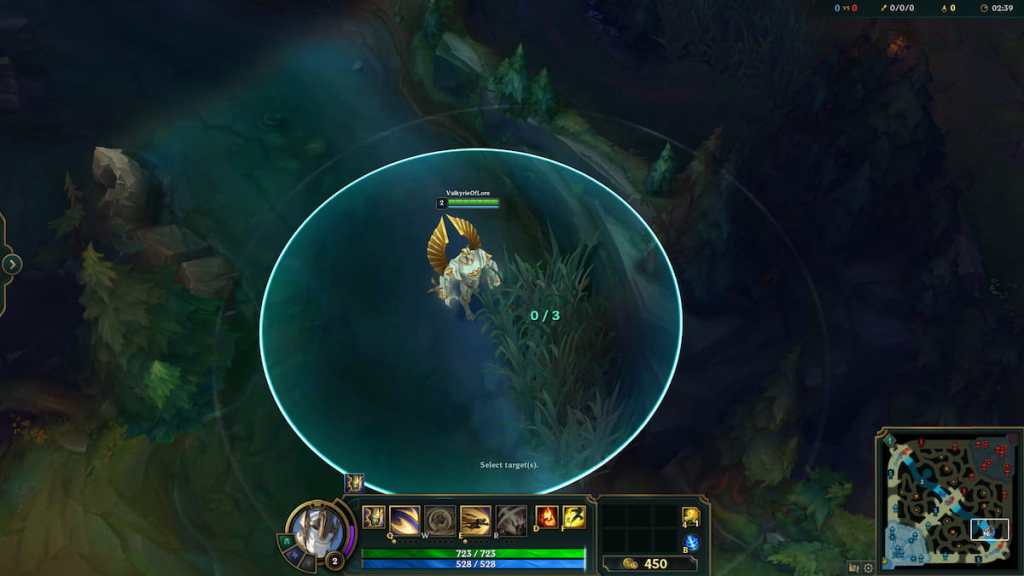
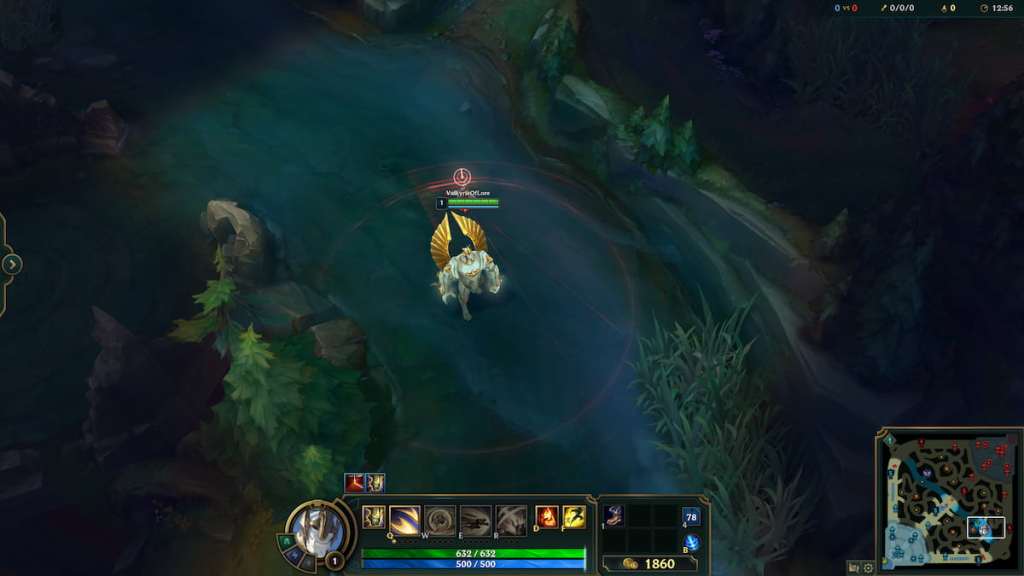
TheOracle Lensis an alternative to a Stealth Ward, since they occupy the same4slot. The Oracle Lens’s primary objective isrevealing enemy wards and disabling them. Instead of being placed, the Oracle Lens hovers above your champion, revealing and disabling wards in your vicinity for 10 seconds. The visual effects of this item can be seen by both allies and enemies. The item will regenerate after 90-60 seconds, depending on champion level.
TheFarsight Alterationis a ward that is unlocked at level 9. This wardcan be placed from a distance of 4000 units away, although it reveals less area on the map. This type of ward is used forgranting vision on objectives from a distance. The Farsight Alteration ward lasts indefinitely if it is not destroyed by enemy players. This ward regenerates after 198-99 seconds, depending on champion level. It also occupies the4slot.
Related:League of Legends Wild Rift – Champion Mastery, explained
Where should you ward?
For top laners, this is a good spot to ward. Bushes are the best places to ward, since you’re able to reveal enemies who may be hiding in them. This bush is helpful to ward, since enemies may pass through it to hide in one of the other bushes.
For mid laners, this is a good spot to ward. This also applies to the bush on the lower side of the river. Placing the ward in the middle of the bush ensures that enemies cannot hide just beyond the ward’s view. This ward placement is effective against enemy junglers, since they often take this route for ganks.
For ADCs and supports, this is a helpful spot to ward. This is an especially useful spot for Control Wards, since enemies frequently ward in this bush. This ward placement is also effective against enemy junglers, since they often take this route for ganks.
For ADCs and supports, this is another good spot to ward. Warding this bush ensures that enemies will not pass through it and take you by surprise. Although Control Wards can be helpful here, it is generally better to use Stealth Wards, since enemies frequently enter this bush.
For ADCs and supports, this is another helpful spot to ward. Warding this spot prevents enemies from coming behind and ganking you, especially enemy junglers. This is an excellent placement for Control Wards.
Forjunglers, this is an effective warding spot for scouting out the enemy’s jungle. With this ward placement, you can track where the enemy jungler is and whether they’ve killed their blue and red buffs yet. This can help you predict enemy ganks and be there to intervene. Placing wards next to your own buffs is also beneficial, so you can avoid enemy ambushes.
Related:League of Legends Which Lane Should I Play? (2021)
Objective wards
Objective-focused wards are helpful at all times. These wards can be placed in or near the dragon pit, or in the Baron Nasher pit. These wards allow your team to know whether the enemy is pursuing a critical objective, and whether you have the potential to stop them.
Warding tips
For more League of Legends guides, come check outHow to change your Ward Skin in League of Legendshere on Pro Game Guides.