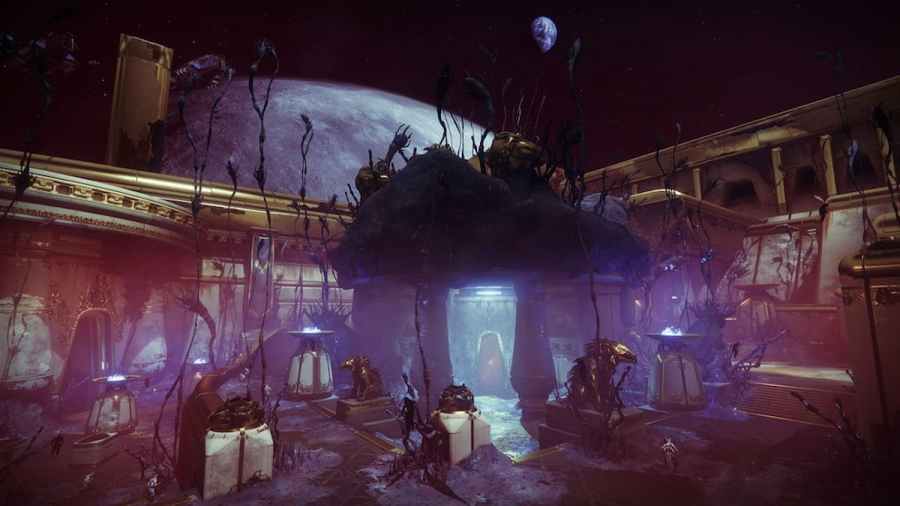
There is quite a bit to do in Destiny 2: Season of the Haunted, although most of it will undoubtedly be spent participating in the Nightmare Containment activity. You are thrown into it basically as soon as you board the Derelict Leviathan. Since you’ll be wanting to make the most out of this scalable activity as soon as possible, here is everything you need to know about Nightmare Containment.
How to take part in Nightmare Containment in Destiny 2
There are two ways to launch onto the Derelict Leviathan and therefore two ways to gain access to the Nightmare Containment activity. In orbit, you can choose either Castellum or Containment. The Nightmare Containment activity is accessible from either of these options. The game describes theCastellumoption as the ideal choice for players looking toexplore the Leviathan. TheContainmentoption is stated to be reserved for those who know they are going to be doingthe Nightmare Containment activityand want to matchmake with other players who are only interested in the activity.
So, if you are traveling to the Leviathan for the sole purpose of completing Nightmare Containment then you should choose theContainmentoption from orbit to ensure there will be players to complete the activity with you. Players who are looking to explore the Leviathan, complete patrols, and also maybe take part in Nightmare Containment should choose the Castellum option in orbit.
Nightmare Containment Guide
How to begin Nightmare Containment
Nightmare Containment basically works the same way as Altars of Sorrow or a Public Event. This means that there is nothing that you need to do in order to trigger the event, and theevent will begin on its ownless than five minutes after the previous event has concluded. As soon as you board the Derelict Leviathan, there will most likely already be a Nightmare Containment going on. Shooting an enemy near the activity will automatically cause you to join the activity.
If you do happen to land on the Leviathan with no activity currently underway, all you need to do is head to the seasonal marker andplant the Nightmare Harvesterinto the ground. Tier 1 of the activity will begin.
Tier 1
Once the activity starts, you’ll be tasked with gatheringShards of Dread. You can earn this byslaying enemiesduring the activity. You get one Shard of Dread per enemy killed, so you will want to take out enemies as fast as possible to maximize your shard earning potential. You can track how many shards you and your fellow Guardians have gathered by using the tracker on the left side of your screen.
Throughout this first wave, you will encounter multiple yellow-bar enemies known asDread Bearers. These enemies are tough to bring down, but with the help of a few fellow Guardians, you’re able to make short work of them. On their death, they will drop what’s called aCore of Dread. If you pick up that core and take it back to the Nightmare Harvester, you will bankfive to ten Shardsand cause a Relic weapon to spawn.
If you have seen some Guardians sporting aSolar Scythe, then you have already seen what the Relic weapon is capable of. Dunking Cores of Dread will cause one of the Scythes to spawn, and they will help clear waves of enemies or seriously knock some health off of the yellow-bar enemies. However, it is a little give and take, as banking a core andspawning a Scythe will also cause a Champion to spawnnear the Nightmare Harvester.
After gathering enough Shards of Dread, you will move on to the next phase. Here, you will be tasked with defeatingEgregoreAtavists. Although, before they appear, you will need to kill four Atavist Illusions. Your markers should lead you right to them, and they are not too hard to take down. Once the Egregore Atavists do spawn, you will see that they have a shield around them. To take them out, you will need to walkinside of their shield and melee them, as their shield protects from all outside weapon and ability damage.
Then, after gathering more Shards of Dread and taking down a few more Dread Bearers, you will eventually make it to the final phase of Tier 1. Amini-boss will spawnfrom the harvester. This boss is pretty tanky, so it is a good idea to conserve Supers and Heavy ammo for this stage. Once the boss reaches half health, it will shield itself, and you will need todestroy two Resonant Splintersto remove the shield and continue your barrage. Once you kill the boss, Tier 1 will complete and Tier 2 will begin.
Tier 2
Tier 2 is largely similar to Tier 1. You will gather some Shards of Dread and defeat Dread Bearers and Egregore Atavists until you reach the final boss fight. The only notable difference here is that the boss will spawnfour Resonant Splintershalfway through the fight instead of two. Once you take the Tier 2 boss down, you’ll be ready to move on to the third and final Tier.
Related:Everything to know about Solar 3.0 in Destiny 2 – Supers, Aspects, and Fragments
Tier 3
In this phase, you will fight a major boss Nightmare. This boss rotates weekly betweenNightmare of Elykris,Nightmare of Anaphex, andNightmare of Navôta. The boss fight isn’t too tough but will take some time due to the sheer amount of health it has. Start the fight by clearing ads and lowering the boss’s health. Once itshealth drops to two-thirds, two Emmisaries will spawn with shields and the boss will gain a shield. To remove the shields, you will be tasked with destroyingsix Resonant Splinters.
Once you destroy all of the Resonant Splinters, you will be free totake out the two Emmisariesand continue doing damage to the boss. You willrepeat these steps when the boss’s health drops down to one-third. Once you clear up the second round of shields and Emissaries, you are in the clear to slay the boss. Once slain, you will be able to loot a chest and deposit500 Vestiges of Dreadinto the Nightmare Harvester for some seasonal rewards.
Nightmare Containment is a pretty straightforward activity overall, but it is quite long and can get confusing in the later tiers. Hopefully, this guide can make navigating this activity a breeze.
For more Destiny 2 guides, check outHow to craft Menagerie weapons in Destiny 2right here on Pro Game Guides.
